How to strengthen your back and why triathletes should
Back health is an important topic that many athletes overlook. Here, consultant osteopath Michael Fatica explains why it needs your attention

Back pain, particularly in the lower back, is likely to affect all of us at some point in our lives.
Our back muscles have been left weakened by the relatively sedentary lifestyles that most of us lead today, while excessive time hunched over electronic devices only exacerbates the potential for problems.
Activities such as walking, cycling and swimming are often recommended to help counteract the stresses and strains placed upon the back and help relieve lower back pain.
However, for triathletes who engage in extremely demanding and strenuous forms of these activities, the impact on the back is, of course, far greater.
So, how does triathlon affect the back, and can it lead to long-term problems? Here’s consultant osteopath and founder of The Back In Shape Program Michael Fatica with the answers.
How does triathlon affect your back?
As far as swimming and running go, both sports generally offer little in the way of issues.
However, when swimming and negotiating other athletes during congested areas of the event, you might find that lifting the head out the water to the front is an aggravating movement if you have a lower back issue.
Generally, this won’t be an issue for those without back pain or an injury.
If the swimming is done in a pool, then this issue will be negated. However, tumble turns could be a challenge as the sudden flexion extension movement during the turn could aggravate an active back injury.
Similarly, with running, considerations only need to be made if there’s a return to the sport following a back injury.
Running is essentially many thousands of smaller impacts through the lower back and these cumulate.
In the early days of returning to the activity after injury, it’ll often be the cumulative landing and impact that overwhelms the discs in particular.
A good strategy here is to use the sets and reps approach – running shorter distances faster and doing sets.

Running faster tends to force more muscular engagement and therefore support of the spine.
The shorter sets allow you to find the right ‘number of impacts’ – i.e. five or 10 sets of two-minute running, or somewhere in between.
This is particularly helpful during the return to activity phases as you can easily segment what was okay and what was too much.
However, cycling poses far greater risks to back health. If you consider that most adults spend on average 9.5 hours per day sitting, this is a tremendous imbalance considering how long we’re awake.
The action of sitting and assuming a good posture – which is rather unlikely among the majority of people – slightly flattens the lumbar spine compared with standing and shifts the weight more through the discs of the low lumbar spine, as well as stretching out the ligaments and muscles on the back part of our spine.
The cumulative effects of this repetitive pattern of strain will start to take its toll by the time many of us reach our mid-to-late 30s or early 40s, resulting in lower back aches, stiffness and, in worse case scenarios, sciatica.
This often occurs at the same time many people are gradually deconditioning (i.e. getting weaker and less fit).
That said, it’s important to note that weakening and deteriorating fitness is not a ‘feature of age’. Conscious work to combat this process through regular fitness practices works almost miraculously.
The strain on the lower back, however, is specific. It’s a compressive strain which stretches the back part of the spine, the muscles and ligaments.
At some point or other – usually when carrying out an innocuous activity that we’ve done 100 times before, such as putting our socks on, the back ‘goes’.
It’s important to take a moment to visualise the position you’d be in when this happens, specifically your lower back.
Cycling is the biggest challenge for back health

Bearing the above in mind, now take a moment to evaluate what a typical day looks like for you.
Are you the average person spending 9.5 hours a day sitting at home, at work, on the commute, having dinner, relaxing in the evening?
All this sitting will contribute to the degenerative processes and vulnerability of the lower back, and this is without even factoring in how many of us ‘slouch’ on a regular basis and have poor posture.
So, with or without a lower back injury, cycling, while a great form of cardiovascular fitness, involves yet more ‘sitting’.
The ‘seated’ position associated with cycling, and even more so with road biking, involves poor posture and invariably contributes to the condition of our lower back and its vulnerability.
Is cycling causing or relieving your back pain?
If the simple action of sitting is painful, this is a clear signal that the lower back has been strained.
The ‘pain’ felt is giving the brain the appropriate signals that the compression of the injured structures is occurring, and you shouldn’t do this, just as you wouldn’t hop on a sprained ankle.
The posture adopted by cyclists continues to stretch already damaged tissues, as well as compressing the front of the disc, driving it back further and worsening the problem.
Unfortunately, those with sciatica – an intense pain that runs from the lower back down the leg – actually feel relief from pain when sitting and it’s these people who are particularly prone to getting into cycling because it feels nice and will be a method of exercising that provides relief.
This is because, where sciatica is concerned, the build-up of inflammation or presence of displaced disc material occupies the holes in the back of your spine where the nerves come out.
Sitting with particularly bad posture enlarges these holes, relieving the pressure.
In either of the above scenarios, rebuilding of the supporting structures and mechanisms for your lower back is the right way to go.
Cycling and some quick fixes

There are some very simple yet effective changes that cyclists can make to help counterbalance time spent seated.
Set up your bike with the saddle lower down, if you can, and the handlebars up higher – this reduces the flexion through the lumbar spine a bit.
Avoid the use of cleats, or at least unclip them at traffic lights and stand up, giving your spine an opportunity to redistribute weight, strain and stretch through all the tissues.
These simple disruptions help tremendously to offset one of the biggest issues with cycling.
Of course, making these modifications is easy for the leisure or commuter cyclist who’s on an upright bike, but it’s not very compatible with training for or competing in regular triathlons.
Cycling and long-term back health
For those who take cycling more seriously, back health should be a key consideration because of how your spine works and the position adopted when cycling.
Your lower back should have a smooth backward bending curve, a lordosis. We’re built like this as it bestows both flexibility, strength and balance.
The muscles are designed to work on this lordotic structure and the discs are designed to function within this position.
The body, however, is pliable, and sustained stretch and repeated actions leave their mark.
When you’re cycling, you’re on a ‘moving chair’. You cannot just get up and move around like you can in the office.
Anyone training for a triathlon will be spending a significant amount of time in one stint in this position, sometimes many times a week, and it’s difficult to counteract this without completely derailing the cycling experience.
Sustained stretch is the biggest challenge to the cyclist’s lower back health and identifying this reality is the first step towards better back health.
How to return to cycling after a lower back injury
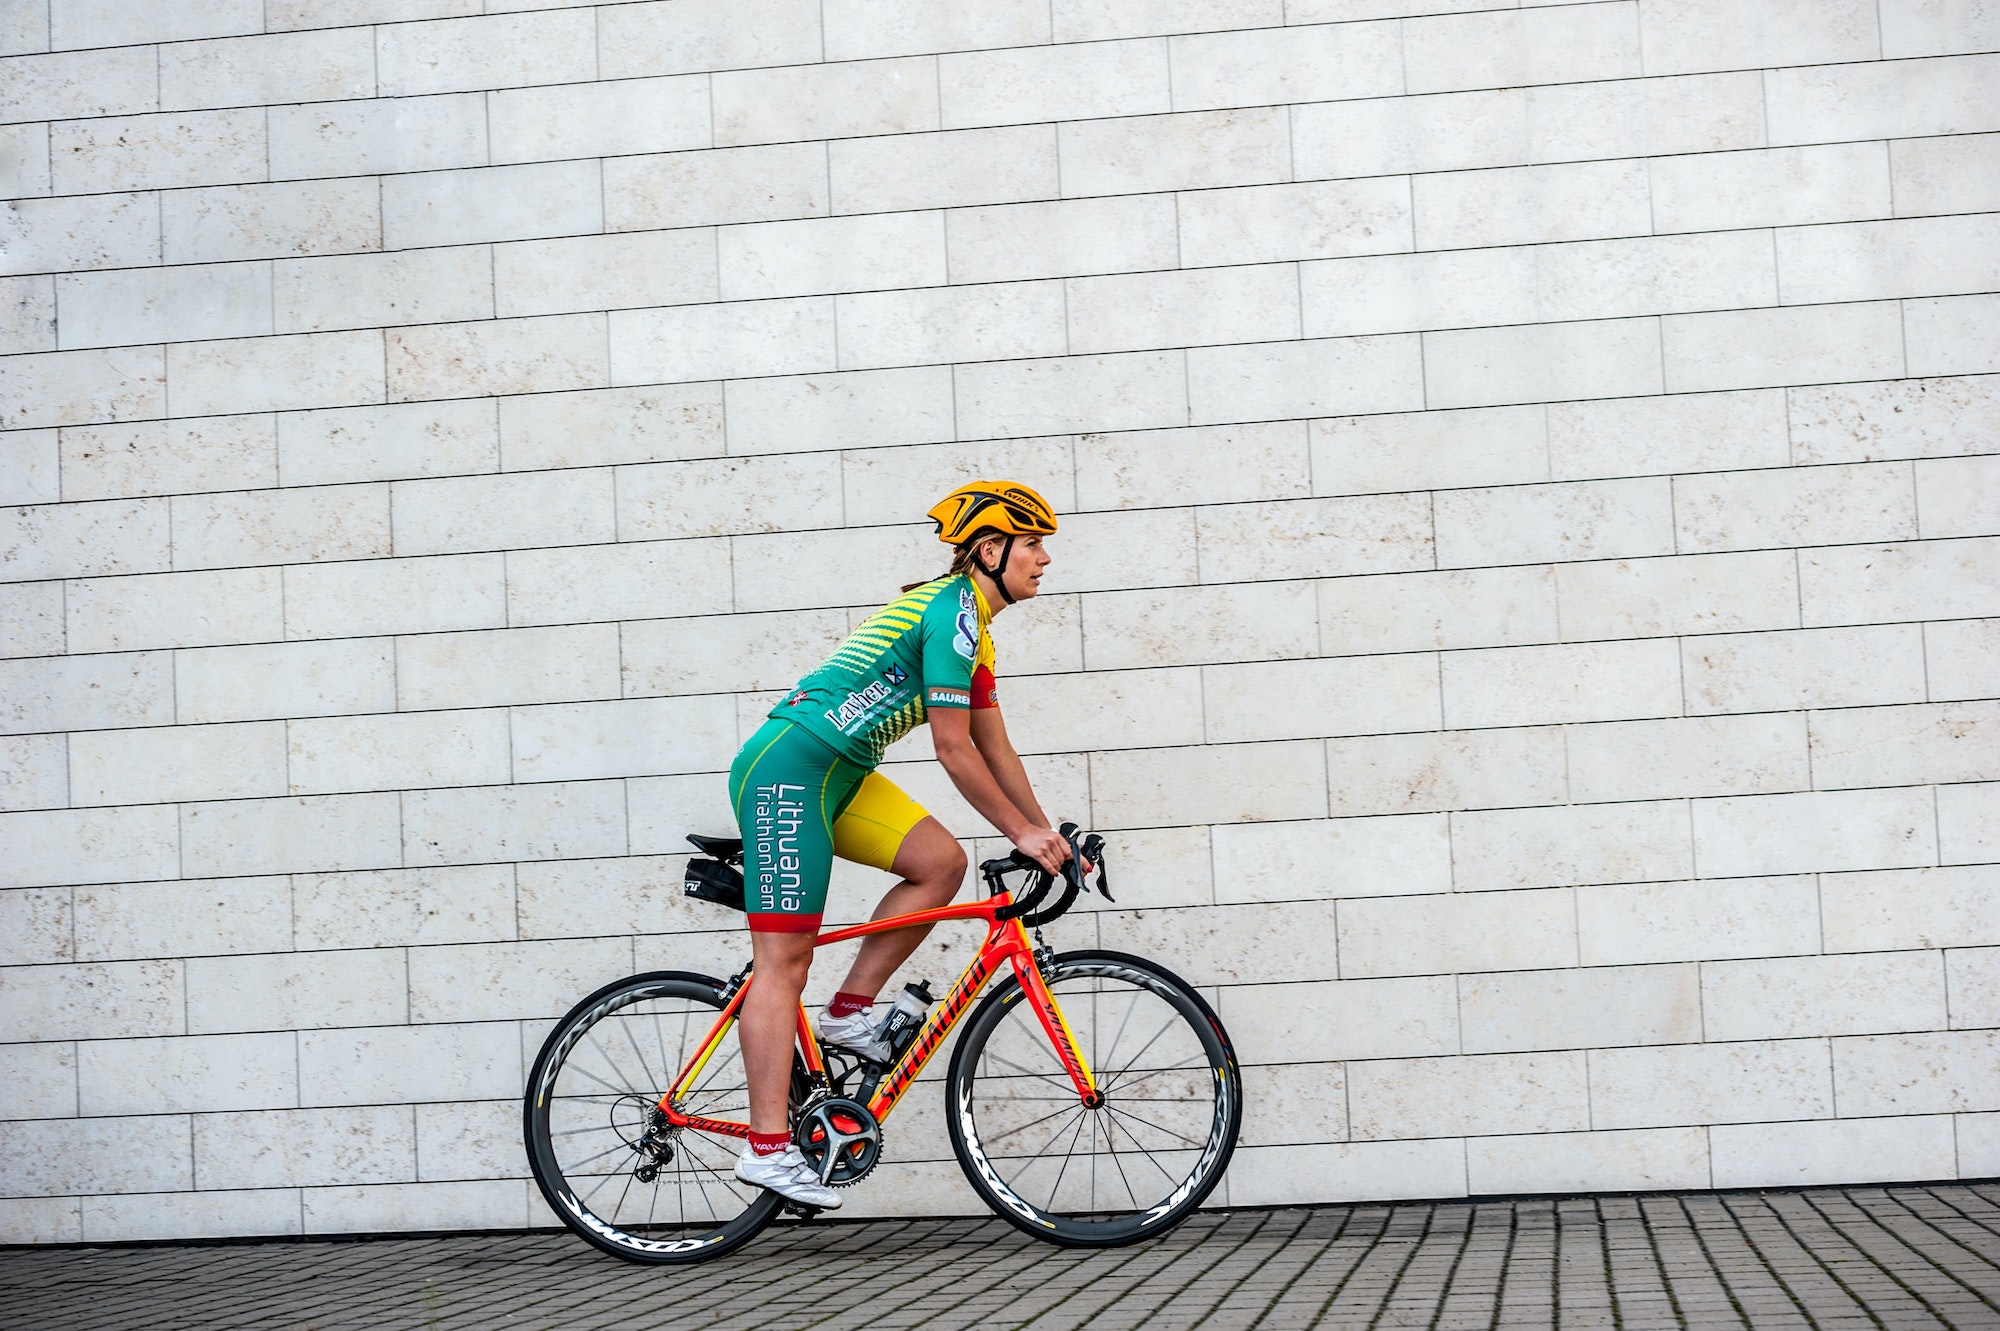
No triathlete likes the idea of stopping cycling for a sustained period. Sometimes, however, we have to make concessions.
If you’ve injured your lower back you need to lay off the cycling and work hard at rebuilding your lower back health.
Yes, this will involve a little time commitment, but view it not as wasted time, but time that’s invested in preserving your ability to enjoy doing something you love.
Here is some key advice:
Step 1: Lower back injury – immediate actions
If you’ve just injured your lower back, you need to get off the bike and start on the rehabilitation front.
You’ll require a programme of the right exercises and education to help you get back in the saddle, with your back injury resolved and integrity restored, as swiftly as possible.
It’s worth noting this will include exercises and stretches, but it must include appraisal of your daily activities and working set-up to optimise this for your back health.
Step 2: Returning to the saddle: get your back in a less bad position
When the time is right and significant progress is made with your rehabilitation you can consider returning to cycling.
Begin with some modifications to the set-up. Yes, this will mean that the aerodynamics are going to have to take a hit, but it’s far better than not cycling!
We know from experience you’re not going to ever get a road bike in a good position, but a less bad position is what you want to aim for.
Step 3: Start small
This is important. Begin with short stints on the bike and incorporate regular breaks. For example, cycling for five one-minute stints.
Remember, we discussed that the biggest challenge for the amateur cyclist is the duration in the saddle in the same position.
Doing sets of five minutes on the bike gives you periodic opportunities to break the position, get upright and changes the stress and stretch mechanisms on your lower back.
Stay aware that your lower back will still be going through the strengthening process so is still more vulnerable even though the pain may be all but gone.
Step 4: Invest time into resistance training
You should have now come to the realisation that simple resistance work to build your lower back health is important to your longevity.
This should be something that you continue as you return to cycling – even 25-30 minutes three or four times per week would be acceptable.
We have some great efficient routines in the Back In Shape Program that will allow you to work the right areas to promote lower back health and resilience that will also help you on the saddle to generate lower body power.
Continuing these practices will ensure as you ramp up your cycling, your back does not suffer as it did before.
Recommended resistance work
Loaded goblet squat
This simple squat technique allows for good form and counterbalance compared with a traditional bar squat.
Simply hold the weight at chest height, like in the image below, with a braced core and engaged back muscles to support good posture. Then simply lower yourself to the squat position and back up again.
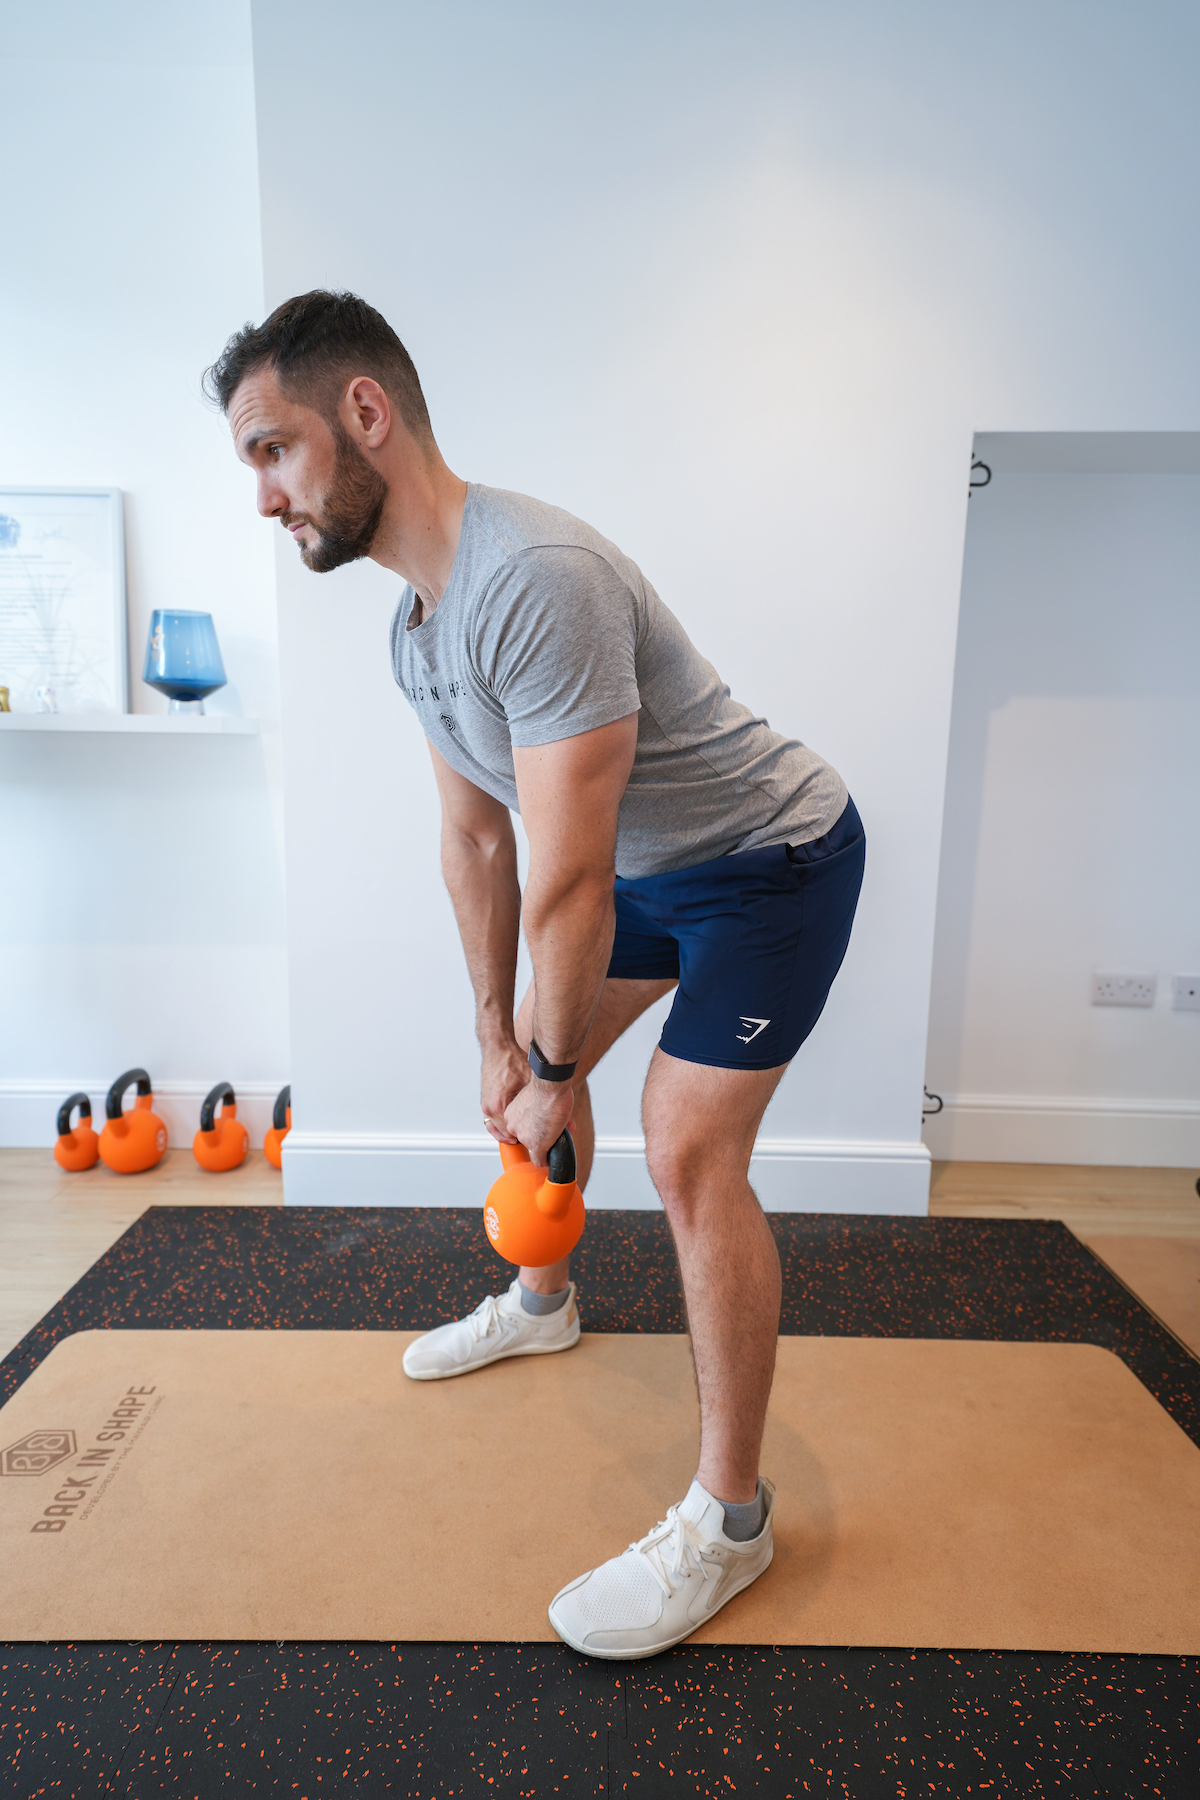
Loaded hip hinge
Focusing on the pivot at the hips stand tall and engage the core and back muscles to brace your torso, this is the ‘bridge’ in the ‘draw-bridge’.
Slowly lowering at the hip joint, your hamstrings will lengthen to lower your torso, remaining stable at all times, especially in the lower back.
Once your hamstrings have lowered as far as they can, you will then use them to contract and bring your torso back upright again.
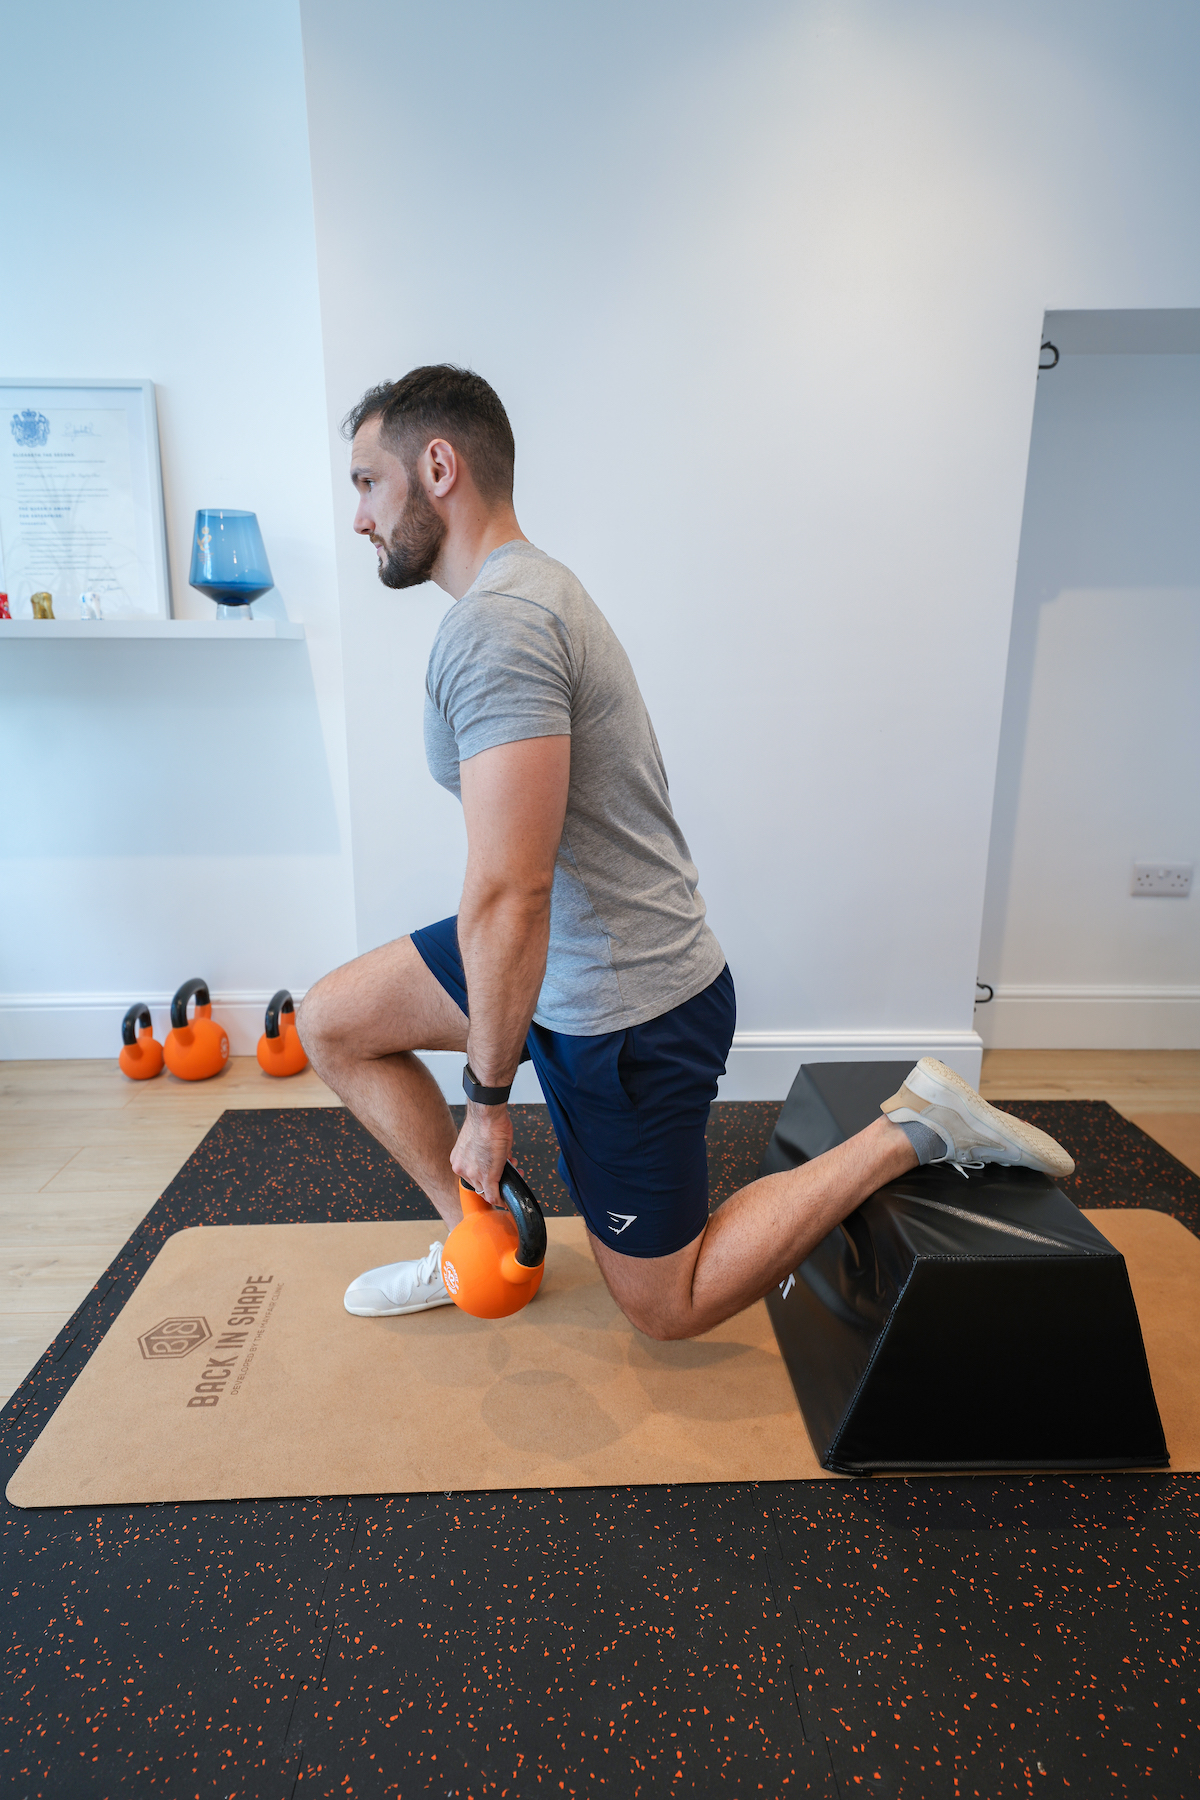
Loaded split squat
Driving mostly through the front leg, holding the weight with one hand, simply sit down into a squat with the front leg holding good core and back stability.
Try your best to have the majority of the weight on your front leg with minimal on the back one. Once lowered to your limit of mobility, drive back up to upright with your front leg.
Through all these exercises there is an emphasis on a neutral lumbar spine, with a slight arch (natural lordosis) and static strength being deployed from the core and back musculature.
The leg muscles are the primary driving force with the hips (and knees and ankles) the only parts that should move!
Step 5: Scaling your training on the bike
A good first step to make your cycling productive would be to continue to scale the shorter cycles in both number and intensity.
It’s an opportunity for you to make the best of the situation and work on your speed and power in the saddle, something that will no doubt be of benefit as you start to test out longer durations in the next steps.
It’s always a good idea to ‘make the best of your circumstances’ and look at what you can do in this period.
It’s much better to take this approach than to jump back into four-hour rides only to find out after a few sessions it’s been way too much too soon.
Remember the biggest challenge is that sustained stretch that comes with the duration.
Step 6: Extra tips for your low back health
As you continue to scale your cycling back to normal, some simple work to offset the rounded spine can really help.
You might find a variation on the towel exercise is a great option to help you open your spine after a long ride.
The towel exercise is probably the best stretch anyone can do for lower back health, not least because it supports its natural healthy position.
It simply involves placing a towel at the upper lumbar spine and can be done for a few minutes either immediately after cycling or when you get home. Find out more below.
Remember, by creating such a routine, all you are doing is taking a conscious account of what is being done with your body during cycling and being a little more committed to offsetting this strain with the opposite movement. You’ll likely find it feels good, too!
Being a triathlete demands being able to put everything into your cycling.
With a proactive approach you can get firmly back in the saddle after a back injury, and perhaps, with some new habits and complementary practices, you might even find you perform even better than before.
How to do the towel stretch
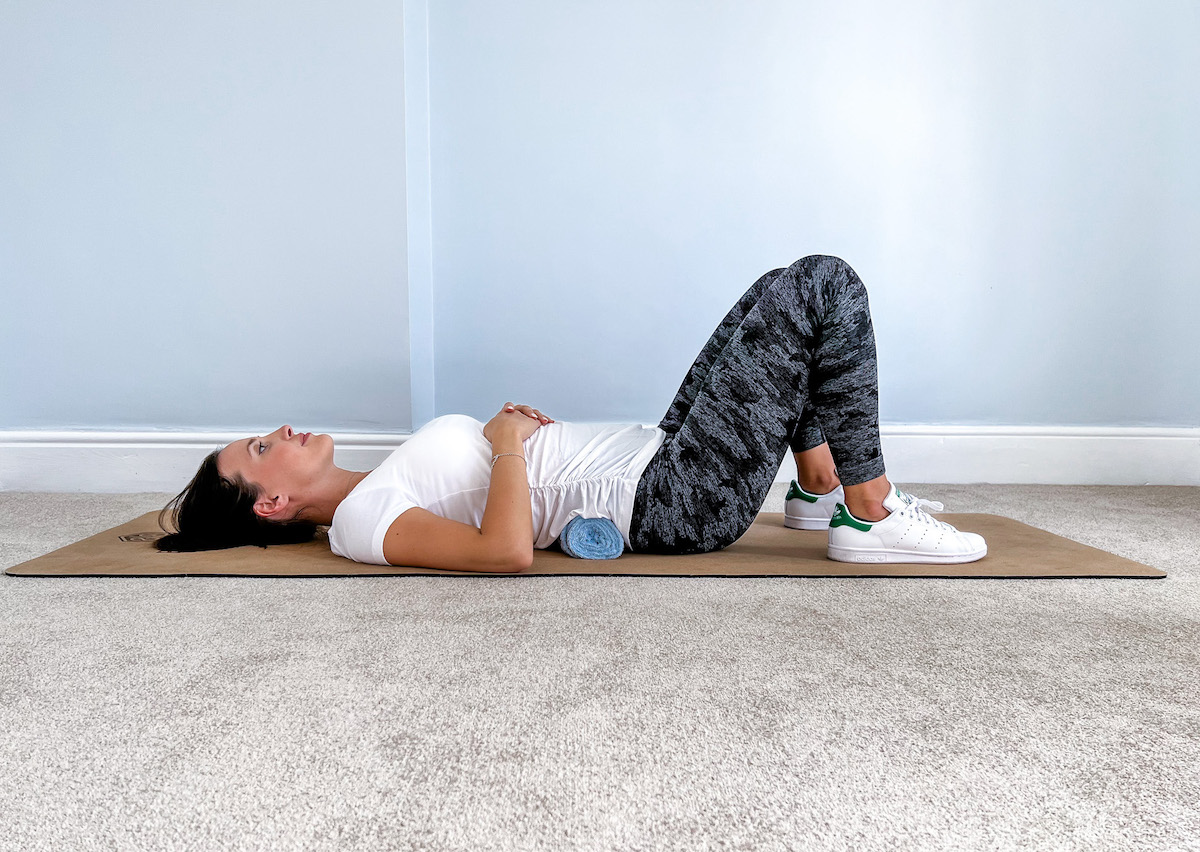
This supports the natural curve to the lower back and takes pressure off your discs and muscles at the same time.
- Relax for two to five minutes
- Roll up a bath towel tightly to approximately the size of a foam roller
- Lie on your back with knees bent
- Engage your core and lift your bottom and back off the floor
- Place the towel in the small of your back
- Relax slowly onto the towel – it should support the natural arch of your back
- Place your hands on your tummy and relax
- Afterwards, engage your core and roll your body to the side to dismount, do NOT lift your bottom
Top tip: This can be a little achy or uncomfortable initially as the lower back is gently unloaded. With repetition this becomes more and more pleasant. If you struggle you can always begin with just 20-30 seconds at a time.
